Discount Designer Handbags
  • << Back to the Store
  • Contact Us
  • Meet the Editors
  • Need an Article?

February 22nd, 2012

Pin Away Your Heart’s Desire: Pinterest Contest!

Hey all you crafters and Pinterest lovers out there!

contest with prizesWe are completely charmed by our sister site’s “Pin It to Win It” giveaway, and we wanted to give our Handbag Heaven readers the inside scoop :)

The gals over at Reading Glasses Shopper are hosting their very own Pinterest contest all for the love of pinning. So what’s the catch?

All you have to do is create a board focusing on all things lovely (think favorite dessert, a gorgeous locale, and swoon-worthy styles), follow the beyond-easy guidelines for pinning, and you’re entered for the chance to win a $25 gift card to Reading Glasses Shopper, $25 to Scarves.net, and a $50 gift card to the craftalicious Michael’s stores.
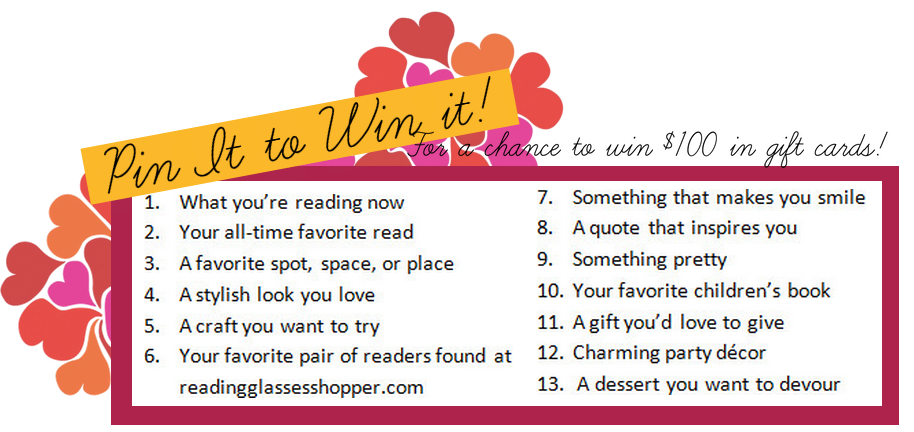
Pinterest giveaway

What fabulous female wouldn’t want a pair of gorgeous glasses (you could give them as a gift to your mama, too!), a classy scarf, and a chance to go craft crazy— all for the love of pinning?

To find out more information about the contest (hurry, it ends in 6 days!), you can mosey on over to their splendid little contest post. And while you’re at it, follow their amazing RGS boards on Pinterest and of course, our fab Handbag Heaven pins, too!

Good luck girls!

The HH Team

By Molly in Contests & Giveaways, DIY Projects, Fashion, Lifestyle | Permalink | No Comments »

February 10th, 2012

All That Glitters is Gold

And silver. And bronze. And purple. And pink. And girly. And simply wonderful.

The gals at Handbag Heaven just can’t get enough of the glitter explosion we’ve seen around the web lately! From cutie patootie DIY projects and party spreads, to gorgeous nail polishes and day dresses, sparkles charm us in a way that nothing else can. Glitter is the definition of sugar, spice, and everything nice. And even just a sprinkle makes us feel oh-so-lovely.

Feast your eyes on this special weekly roundup of eye-catching images and indulge in a diva-liciuos dose of glittery goodness.

Our motto:

[sparkle source]

Yeah, we’re drooling, too:

[sparkle source]

We adore these fab DIY glitter clothespin magnets!

[sparkle source]

Glitter photography at its finest. ♥

[sparkle source]

Need a GNO staple? You might remember our *DIY glitter handbag* tutorial:

[sparkle source]

How gorgeous are these sparkly branches?

[sparkle source]

Just a little collage of loveliness…

[sparkle source]

Love these DIY scarf flats? The gals at Scarves.net tell you how to make your own!

[sparkle source]

Gal pal party perfection.

[sparkle source]

Every coffee table should have this.

[sparkle source]

Holy homemade sparkle shirt!

[sparkle source]

We’re diggin’ Rachel Gilbert’s super-sparkle dress sophistication:

[sparkle source]

Just about the greatest glitter wall we’ve ever seen.

[sparkle source]

Spruce up those nails with a pinch of sparkle polish:

[sparkle source]

*Neck candy *

[sparkle source]

Just a touch of sass and metallic sparkle makes this handbag swoon-worthy:

[sparkle source]

Can you spot the hint of glitter in our Valentine’s Day Guide?

[sparkle source]

The more sparkle, the better! Because the way we see it, you can never overdo such fabulousness.

Happy Friday loves! ♥

The HH gals

By Molly in DIY Projects, Fashion, Lifestyle | Permalink | No Comments »

February 2nd, 2012

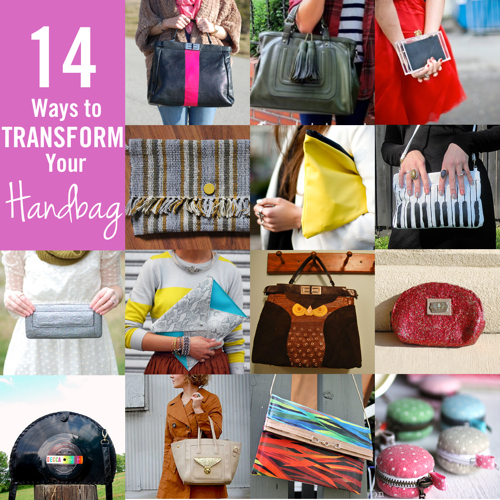
14 Ways to Transform Your Handbag

DIY tassel bag Neon Stripe Bag Transparent Clutch DIY Rug Clutch yellow leather clutch Kate Spade-inspired piano clutch DIY glitter wallet Neon Envelope Clutch Kate Spade-Inspired Owl Purse Red Glitter Coin Purse Vinyl Record Purse glitter accent purse Mod Podge Purse Macaroon Coin Purse

Want to see how to make these handbags? Click on the image above!

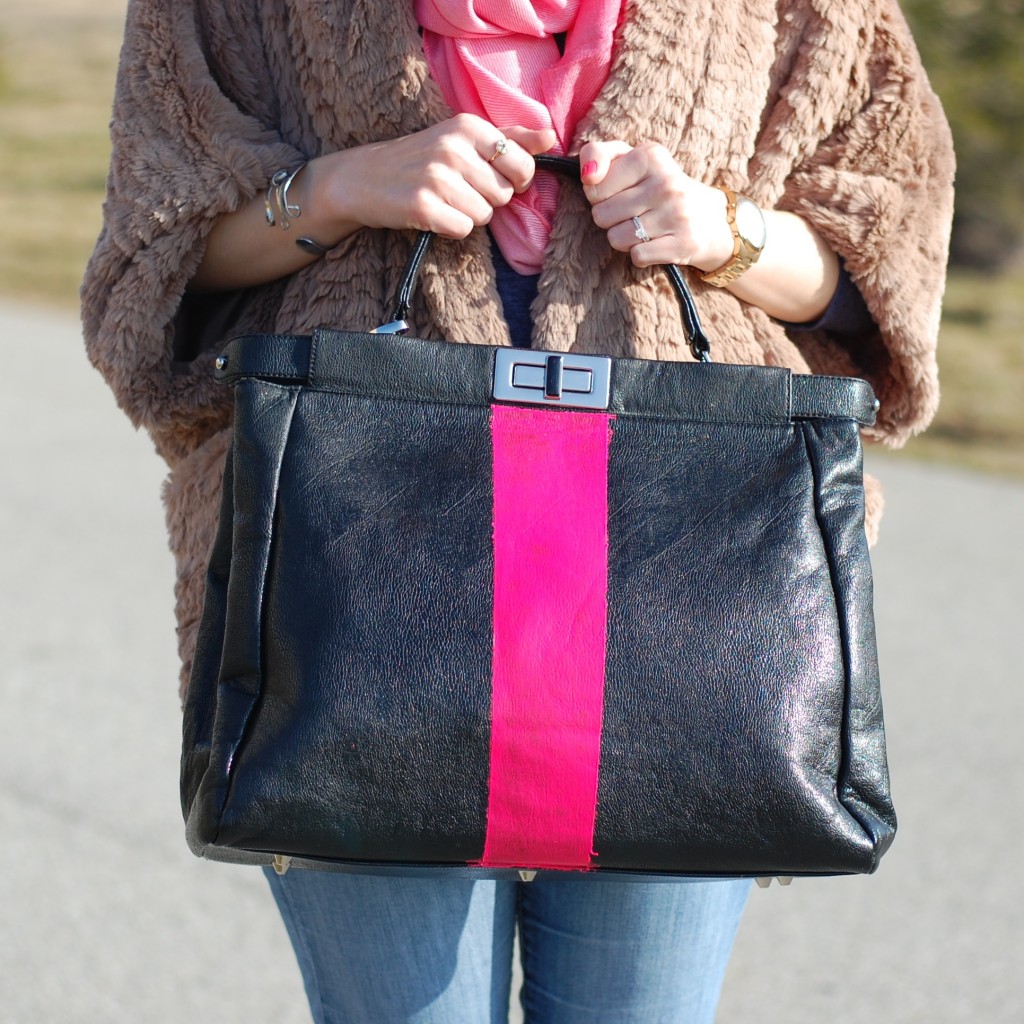
1. DIY Neon Stripe Bag: Add a neon stripe to give a fresh look to an old bag! (Find the Ashton Satchel.)

2. DIY Tassel Embellishment Add a leather tassel to any purse.

3. Transparent Clutch: How to make your own transparent clutch for your next formal event.

4. DIY Rug Clutch: Who knew a rug could look so cute?

5. DIY Yellow Leather Clutch: An easy DIY for a gal with sewing skills.

6. Kate Spade-Inspired Piano Clutch: With some sharpies, paint, and a steady hand, you can make a Kate Spade lookalike.

7. DIY Glitter Wallet: With a bit of glitter and some Mod Podge, you can transform an old wallet into something shiny.

8. Neon Envelope Clutch: A chic DIY with a pop of color.

9. Kate Spade Inspired Owl Purse: How to make Kate Spade’s owl purse with this satchel.

10. Red Glitter Coin Purse: Add some sass to an old coin purse.

11. DIY Vinyl Record Purse: Use ordinary objects to make a unique handbag.

12. Glitter Accent Purse: For when glittering the whole bag is just too much.

13.DIY Mod Podge Purse: Add some life to an old purse with fabric and Mod Podge.

14. Macaroon Coin Purse: How to make the cutest little macaroon coin purse.

♥Do you have a handbag project and want to be featured on the Handbag Heaven blog? Drop us a line with a link to your post and we’ll be sure to check it out! :) Email SEllis (at) Handbagheaven.com

Neon stripe purse DIY
 

We ♥ DIY!

By Stacie in DIY Projects, Miscellaneous | Permalink | 5 Comments »

January 20th, 2012

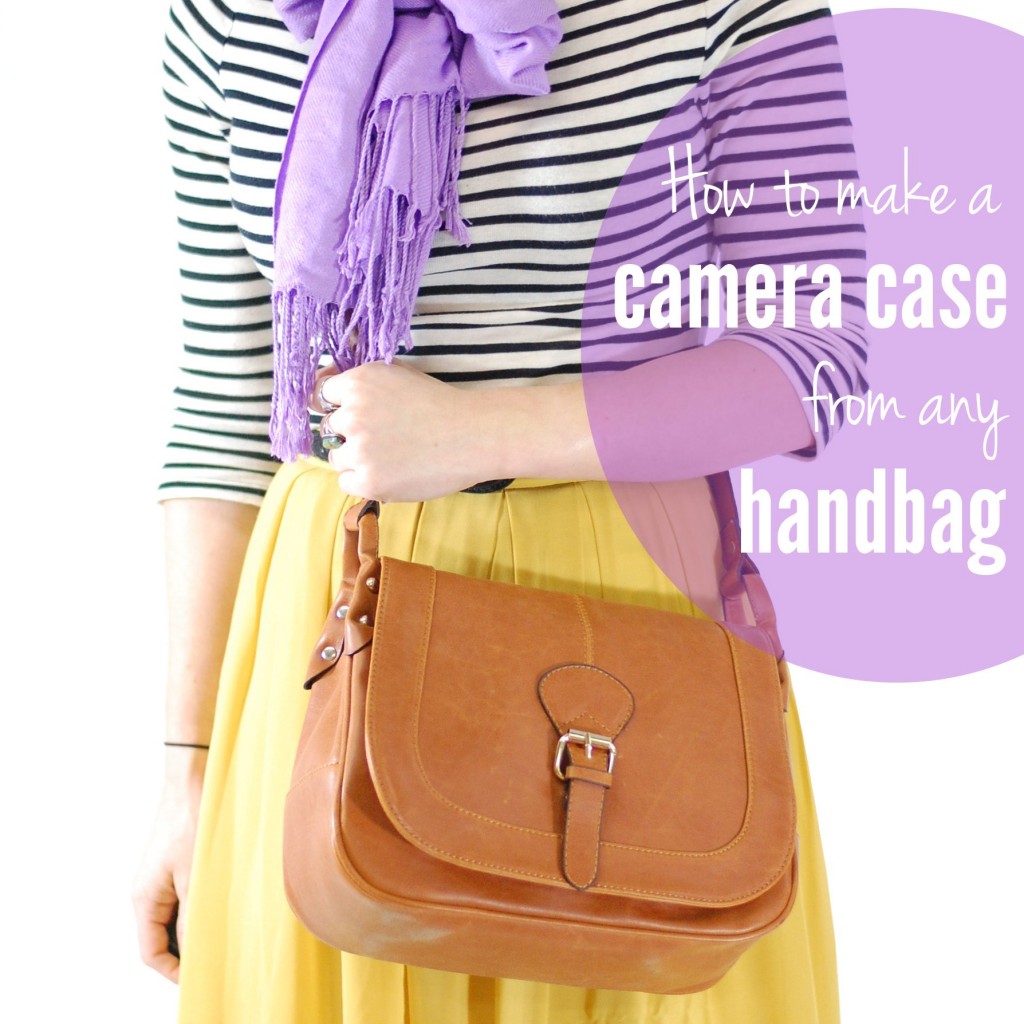
DIY: How to Make a Camera Case from a Handbag

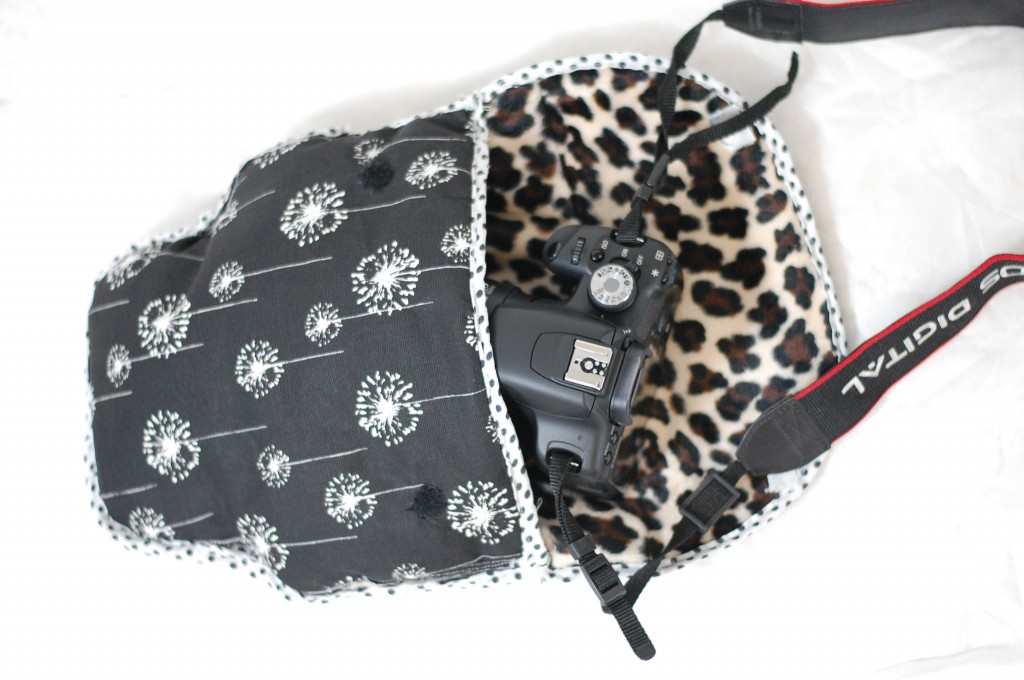
DIY camera bag

My camera is one of my most prized possessions. I take it almost everywhere — and when I don’t, I feel like I’ll miss out on capturing a life moment. The thing is, I think camera bags are some of the most hideous types of bags around. That black canvassy-plastic fabric? Yuck. When it comes to camera totes, why do we have to sacrifice aesthetics for functionality? There are a few cute places to buy camera bags on the web, but many of those bags have pretty steep price tags. With a bit of stuffing, fabric, and a sewing machine, you can make your own camera insert so that you can carry your camera in any handbag you choose.

DIY camera insert for purse

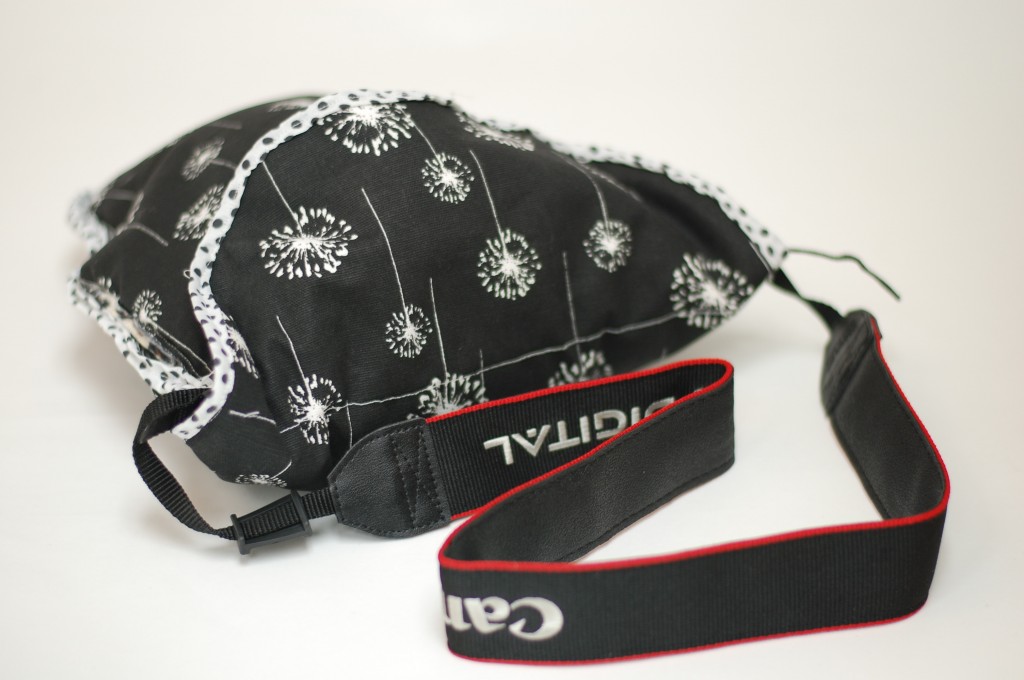
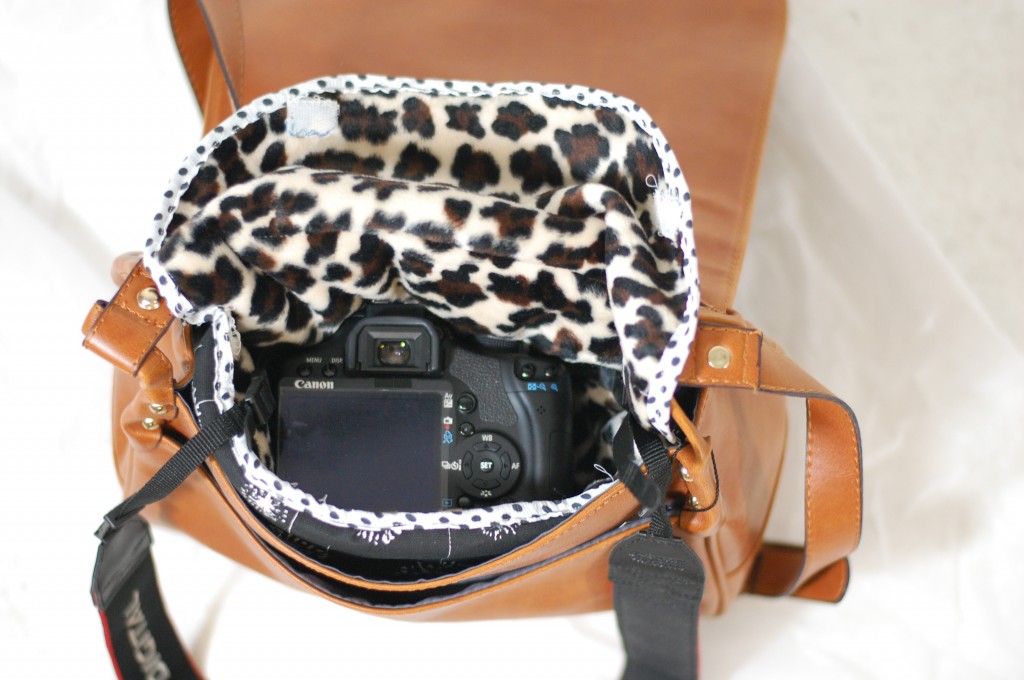
This is what my camera-holding insert looks like. I bought the dandelion print fabric from Fabric.com. They have really cute prints on their site. Essentially this insert is just a little bag to go in a bag, but I made it have a flap to protect the camera from all sides, while still allowing the camera’s strap to hang out. (You can carry it like that, too!)

cute camera case

To make the camera case you need:

-Sewing machine
-Fabric
-Bias tape to go around the edges (You can make some with this print-out)
-Quilt batting or stuffing
-Pins
-Scissors
-Velcro or snaps

Step 1:

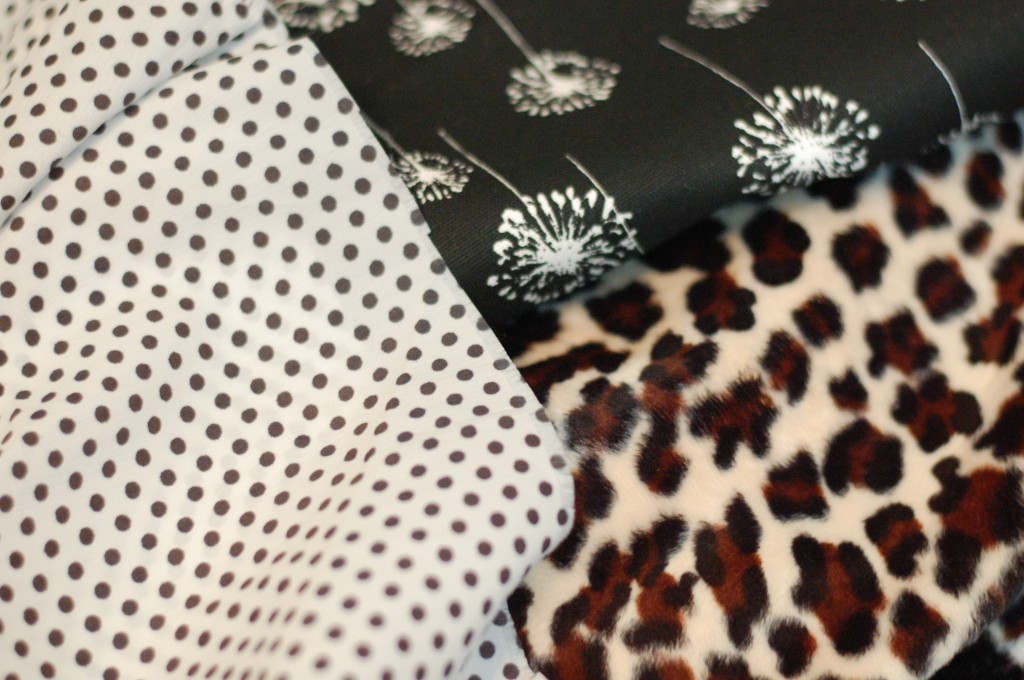
camera case fabric
Choose your fabrics. I chose a soft leopard print fabric for the inside and a thicker, more canvassy feeling fabric for the outside. The polka dot fabric was used to make bias tape. (See the link in the supplies list on how to make bias tape.)

Step 2:

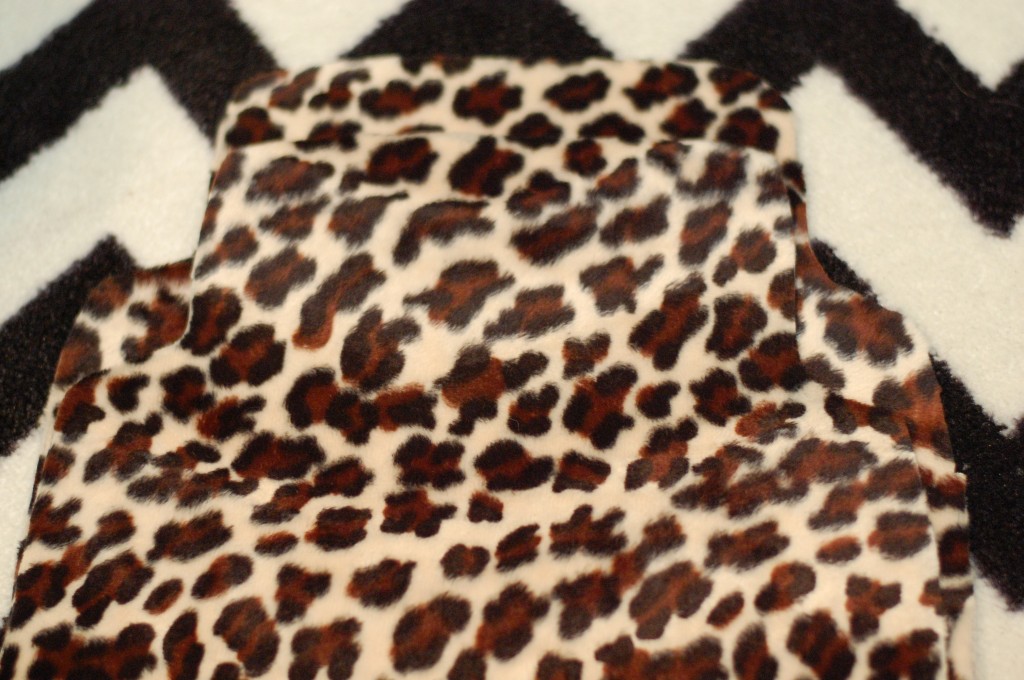
how to make a camera case
Next you need to cut out the shape of your bag. For the first side of the bag, I traced on the fabric the general shape of my camera, and then cut 3″ outside of the tracing to make the bag roomy enough. Then I cut the same shape out of the black dandelion fabric. For the second side of the bag, I used the same width and shape as the first, but made the fabric a lot longer so that it could be a flap and velcro around the camera to keep it secure.

Step 3:

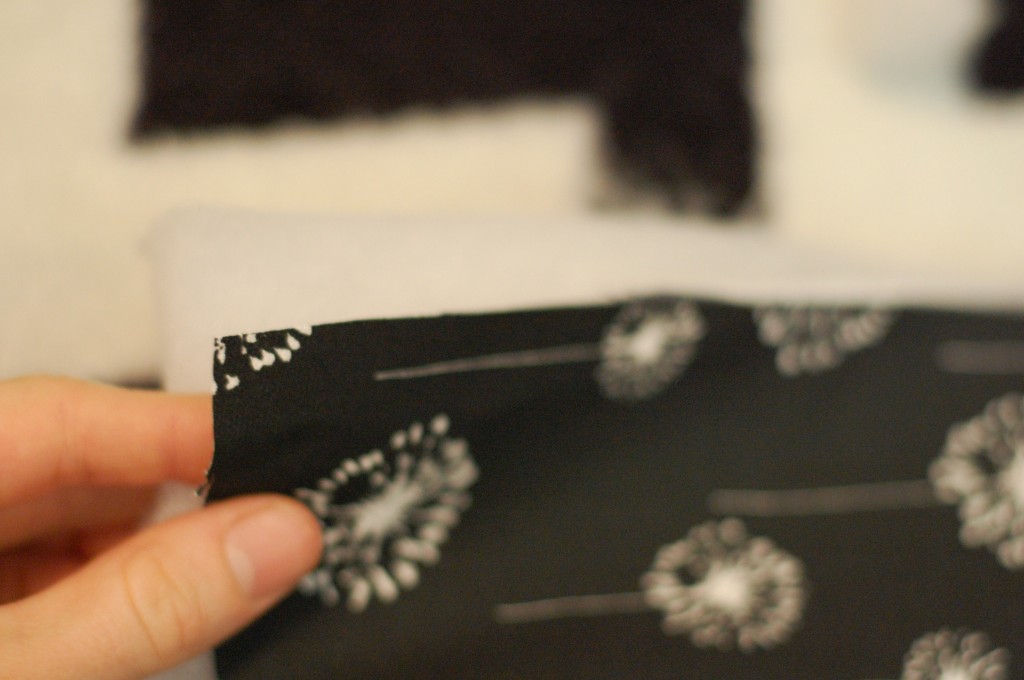
how to make a camera case
Next take the quilt batting or stuffing and cut it to be the same size as your other fabric. Then pin a fabric/batting sandwich together and sew it up. It should go: soft fabric, then the batting, then the canvas fabric. Make sure both of the soft fabrics face each other on the inside.

Step 4:

how to make a camera case
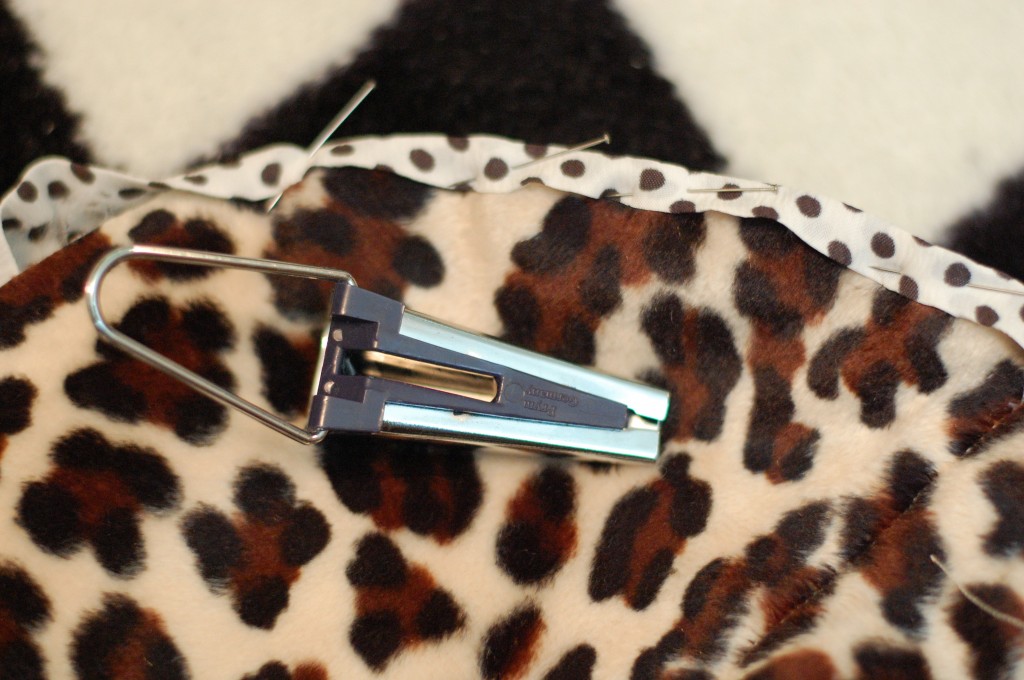
After you have the two sides of the case done, you can pin the two together and stitch them. This part is a bit trickier because the fabric layers are so thick by now. If you sew slowly or stitch by hand it will work well. After you have the two layers of fabric together, you can then pin the bias tape around the outside to make the edges look nice. (In this photo I have a little metal bias tape maker that I bought at Jo-Anns.)

Step 5:

how to make a camera case
After you have everything stitched up, all you have to do is sew on the Velcro or snaps. Then you’re done! A camera case meant for a lady. :)

Camera case messenger bag
Here is where to find the leatherette messenger bag that I used!

Good luck! :)

By Stacie in DIY Projects | Permalink | No Comments »

January 17th, 2012

Pinterest Round Up: Valentine’s Day Goodness


DIY GIFTS

What better way to show you really love someone then by risking paper cuts and glue gun burns for th

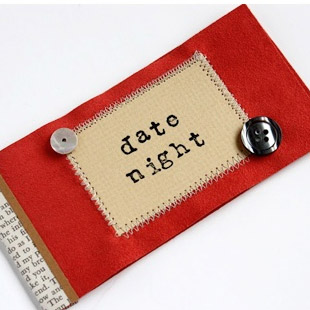
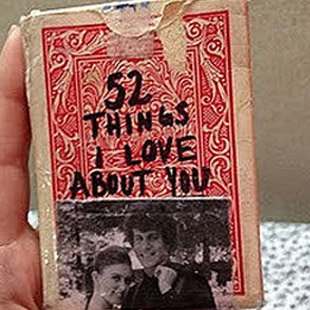
Date Night Coupons Love Card Deck


PARTY FAVORS

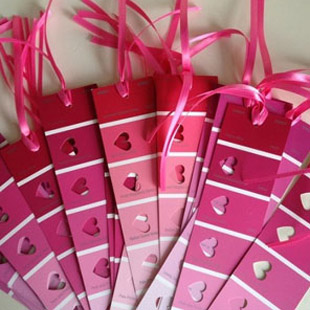
Show your guests some love with these adorable DIY V-day party favors!

Heart Bookmarks M&M Goodie Bags


DECORATIONS

Get in the spirit and spread the love…around the home!

Crayon Hearts Heart Garland


CARDS

Make your Valentine melt with one of these fabulous homemade cards.

I’ve Had My Eye On You I “Wheelie” Like You


TREATS

Valentine’s Day is really just another excuse to get crafty in the kitchen; we dare you to resist the brownies!

Heart Cookies Red Velvet Brownies

Back to the Valentine's Day Guide

By Maggie V. in DIY Projects, Lifestyle | Permalink | No Comments »

January 10th, 2012

DIY Handbag Organizer

Confession time: my handbag collection is starting to get out of hand and it’s causing a bit of a storage issue. My clutches are encroaching on my satchels. My hobo bags are picking fights with my shoulder bags. It’s getting out of control. That’s why with the help of a few little odds and ends from around the house and some pinspiration, I crafted an easy an inexpensive way to store my bags and promote handbag harmony. Now I just have to decide which bag to start the new year with!

What you’ll need

  • Metal shower curtain rings - I used one pack of rings for four bags, but the amount you need may differ depending on the number of handbags you have to store
  • Over the door hook – I got mine from the dollar aisle at Target
  • Your handbag collection!

Now get ready, because this project is as easy as 1-2-3. Literally. :)

  1. Hang hook over your closet door
  2. Link shower curtain rings together and hang from the hook
  3. Open curtain rings and loop through handbag handles (just make sure you empty your bags beforehand - those rings can only hold so much weight!)

Voila. Just like that your handbag collection is easy-to-access and easy-to-show-off!

By admin in DIY Projects | Permalink | No Comments »

January 3rd, 2012

DIY: Glitter Clothespin Magnets

Hey guys and gals, it’s Sarah here with another fun DIY project! I found this cute idea on Pinterest and wanted to share these crafty results with you. Not only was it SO quick and easy, I was thrilled with how they turned out!

Finished Product:

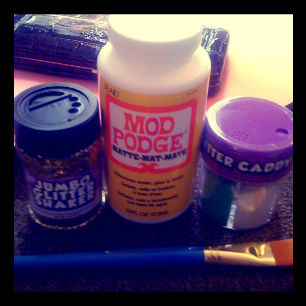
Supplies:

  • Glitter
  • Clothes Pins
  • Magnet Adhesive
  • Cookie Pan (not a cookie sheet, if you want it to hang on the wall)
  • Modge Podge
  • Paint Brush
  • Paper Cups

Step 1:

  • Cut magnet strip to size of clothes pin and peel away backing to attach to the pin.

Step 2:

  • Paint the top with Modge Podge, there should be enough to let the glitter adhere to the pin

Step 3:

  • Sprinkle glitter over the glue and set aside to let it dry completely

And Ta-daa! Once you hang your cookie pan on the wall you have a gorgeous and fun way to store reminders, notes and other goodies! I’m going to get a second pan to hang next to it so I have some more space, but I was thrilled with how they turned out! This is also a far cheaper solution to buying other office supplies!

By Sarah in DIY Projects | Permalink | 4 Comments »

January 1st, 2012

DIY: New Years Resolution Tracker

Happy New Year!

2012 is officially here and that “new year feeling” is in the air! You know, that feeling of having a fresh start, of having a brand new planner to start filling in, and of having a New Year’s resolution you’re ready to keep?

If you’re anything like me, by the time February hits that “new year feeling” begins to fade and so does the motivation to keep up with any and all resolutions. In an attempt to beat that February hump and hold strong to my goals for the year I crafted a New Years Resolution tracker to monitor my progress. Plus, it adds a glittery flair to my normally oh-so-boring desk!

What you need:

  • A killer New Year’s resolution that you want to keep. Mine is to appreciate the little things by keeping a daily highlight journal.
  • An index card file box
  • 365 lined index cards
  • Pen
  • 12 photographs / magazine clippings
  • Scissors
  • Mod Podge
  • Glitter
  • Paint brush
  • Plastic cup
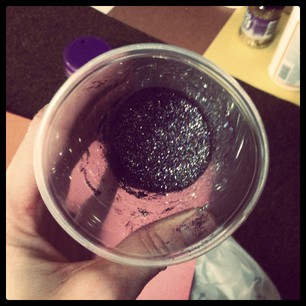
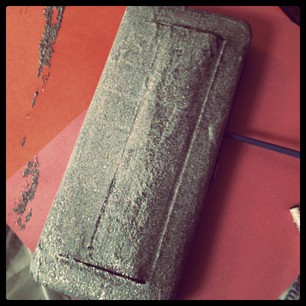
1. Mix the Modge Podge and glitter in a plastic cup and use a paint brush to apply the mixture to the index card file box. Note: You’ll need to apply several coats in order to cover the entire surface.

2. While the glitter is drying, select 12 photos or magazine clippings to use as monthly dividers. Choose photos that will motivate you to stick to your resolution. For instance, if your goal is to exercise daily why not use a photo of Jillian Michaels or that ultra complicated yoga move you hope to master one day! Cut the photos or clippings down so that they’re just slightly bigger than your notecards. You want to be able to see them, but you still want them to fit in your chic new tracker. Since my resolution is to appreciate the little things, I chose photos of important people and places in my life.

3. After applying another coat of glitter, it’s time to start date writing. Turn on your favorite episode of Gossip Girl and settle in for some calendar making. When your hand starts to cramp around the time you hit July, take a little break and just remember that this New Years Resolution Tracker will last you for the next ten years - totally worth it! Or, if you don’t have the time to commit up front, you can simply add the date to each note card as you go along throughout the year.

4. Once the glittery exterior of your tracker has dried, it’s time to assemble. Use your photos to separate the notecards by month, and place them all in your brand new New Years Resolution Tracker.

5. Each day, simply write a brief summary of how well you did. If your resolution is to save money, make a note of any major savings or how you successfully avoided the temptation of a gorgeous window display. Make note on the days you don’t do so well too. We all slip up sometime and it’s easier to avoid in the future if you know your weaknesses.

At the end of 2012, take a look back at your progress and start brainstorming the ultimate resolution of 2013. Change out the monthly divider photos to fit your new resolution and enjoy that fresh start all over again!


By admin in DIY Projects | Permalink | No Comments »

November 22nd, 2011

DIY: Glitter Handbag

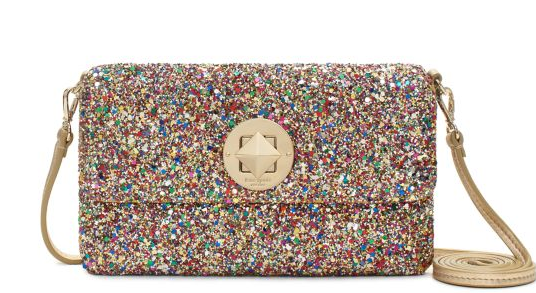
Hey guys, Sarah and Beth here! We’re very excited to share our first DIY project with you! Ever since we spied this Kate Spade Glitter handbag, we’ve been drooling at the glamorous possibilities of this little beauty. But the price tag? Not so drool-worthy.


kate spade glitter bag

Kate Spade Sparkler Missy $155

So our wheels started spinning and we realized, by golly we can do that ourselves!

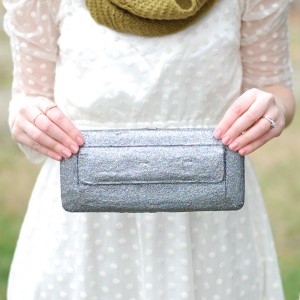
diy kate spade glitter clutch

Pin It

Here’s what we did…

1. Gather Materials

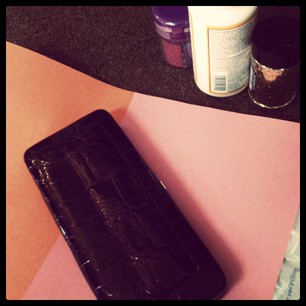
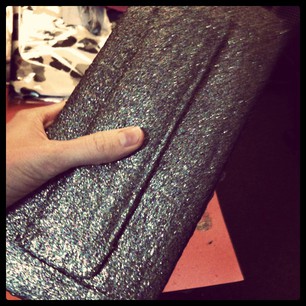
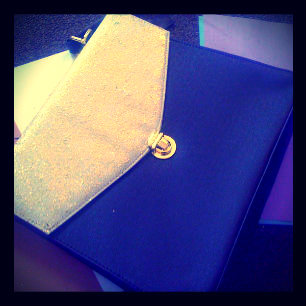
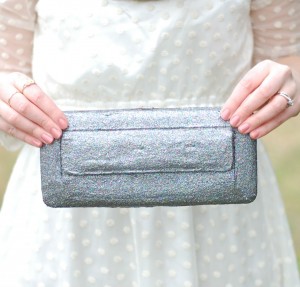
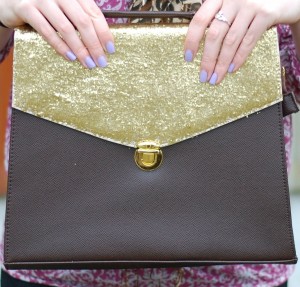
  • Adorable clutch (Sarah used this one) or classic handbag (Beth chose this one)
  • Modge Podge
  • Paint Brushes
  • Glitter (any variety will do, Sarah used fine glitter and Beth opted for large glitter, but the Kate Spade has a mix of fine glitter and larger glitter)
  • Disposable cup or bowl
DIY Glitter clutch

2. Mix Glitter

  • Since Sarah chose a multi-color handbag she mixed her own glitter with equal parts of red, purple, green, blue, silver, and gold glitter. The great thing about a DIY project is, you can choose your own mixture! We didn’t measure anything out, but we both used a ton-o-glitter.
make your own glitter handbag

3. Add modge podge

  • You want this glitter to stick, so use quite a bit of modge podge and mix it with the glitter. Note: Don’t worry that the white modge podge makes the mixture look different, it will dry clear!
4. Paint on handbag
  • Paint the modge podge glitter mixture onto handbag in thick but smooth coats. You don’t want it to look globby, but you’ll need quite a bit to totally cover the handbag. We each did about 3 thick coats, letting it set for 30 minutes in between coats.
modge podge glitter craftglittered handbag

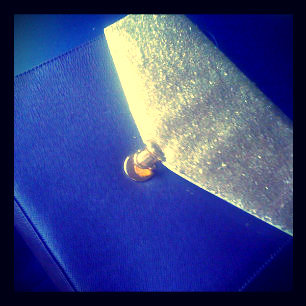
5. Let it dry overnight and VOILA! Gorgeous, custom and CHEAP glitter handbag!

glitter handbag tutorial

diy glitter clutchdiy glitter handbag

By admin in DIY Projects, Fashion | Permalink | 4 Comments »

Newer Entries »

  • Do you have a serious fashion crush? - Browse our Style Guide
  • bloglovin
    • 10 Must-Have Drugstore Finds For Spring
    • Fashion Feature: Introducing Our New Style Bloggers
    • The Oscars’ Best Dressed (and Tressed!) Ladies
    • Spring Trend Preview: Celebrity Looks For Less
    • LBD Love: We Have a Valentine’s Day Contest Winner!
  • Categories
  • Fashion Crowd
    • A Pretty Penny
    • Delightfully Tacky
    • Economy of Style
    • Katie's Bliss
    • Looking Fly on a Dime
    • Love Brown Sugar
    • Penny Pincher Fashion
    • Sidewalk Ready
    • Tf Diaries
    • Wardrobe Oxygen
    • Money Back Guarantee
    • 100% Secure Ordering
    • Your Privacy Valued
    • Shipping & Delivery
    • Easy Returns
    • Tracking Your Order
    • About Us
    • Customer Service
    • Bookmark Our Site
    • Signup to receive exclusive email savings:
Handbag Heaven is a division of One Click Internet Ventures, LLC, Inc., 1064 S Greenwood Springs Blvd, Suite F, Greenwood, IN 46143
Copyright 2004 - 2009 by Handbag Heaven, a division of One Click Internet Ventures, LLC. All rights reserved. Terms of Use