Sarah and Beth here with round two of DIY projects! We had so much fun with our first DIY project that we thought we’d dive into another one. Break out the paintbrushes and painters tape and let’s get crafty!
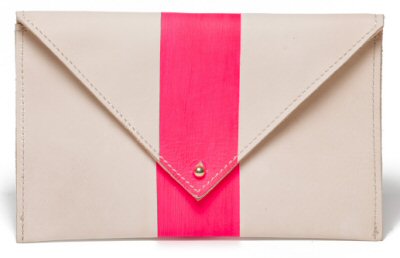
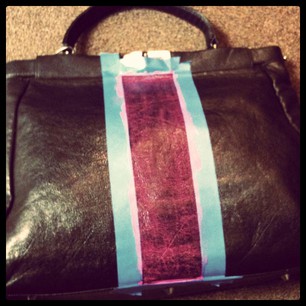
Sarah went for a Clare Vivier inspired neon stripe, but instead of a steep $145 price tag, spent closer to $1.50 (plus a handbag, which she already owned) for this trendy look!
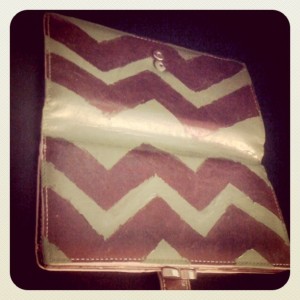
Beth l-o-v-e, loves the current chevron craze and thought her brown leatherette wallet (similar to this one) would be the perfect canvas for her favorite pattern.
1. Gather Materials
- Classic black tote (Sarah used this one)
- Acrylic paint in color of choice
- Paint brushes
- Modge Podge (for sealing the paint)
- Painter’s tape
2. Tape handbag in desired design
- Whatever your design, you want to make sure the tape is aligned properly and stuck all the way down. You don’t want the paint to seep under the tape and ruin your perfect line!
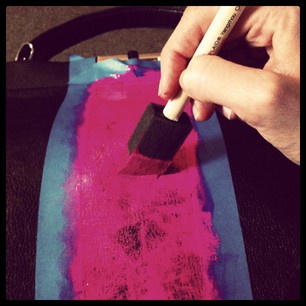
3. Paint away!
- We used a sponge brush for application because it won’t show brush marks and it builds your color evenly. Because our bags were dark, they required many many coats of paint for the color to stand out. Wait about 30-45 minutes between each coat if they’re thin layers. Before you add your next layer make sure the paint isn’t tacky or sticky when you touch it.
4. Build color and seal with modge podge
- Continue to build color and keep the paint looking smooth - which can be tricky with a textured bag, but keep at it! Once the layers are totally dry, complete it with the modge podge layer to seal the color in.
5. Remove the tape and enjoy!
- Let the paint dry completely before you peel the tape off, otherwise it may pull up some of the paint!






Please Santa, bring me some DIY skills this Christmas. Love, Angie.